Working with beading threads
Linda Landy
I’ve sat through some pretty frustrating classes where the teacher insisted that I use double thread and wax. It drives me crazy. I understand that sometimes the engineering of the project demands that you use doubled thread and wax, but whenever possible I avoid it. I hate the feel of the wax and the double thread often makes it Impossible to go back and correct mistakes – and I make a lot of them. Double thread is really not necessary for bead embroidery. Instead of doubling, use a stronger test thread or reinforce your work.
Some beaders swear by a specific thread, length of thread, needle or tool. I almost always tell my classes to do what is comfortable for them. If you like wax, use it. Or don’t—beading is supposed to be fun. How much thread? You decide.
Use the information below to make your own decisions. Just have fun.
Thread Conditioners: To Wax or Not
One of the great things about bead embroidery is the ease of changing your mind. If you don’t like how something looks or you want to correct an error, just remove your needle and pull the beads off. Unfortunately, this makes any thread fray, especially if you split your thread as you pass through beads more than once. In addition, using thread lengths in excess of three yards causes wear and tear on the thread. When the eye of your needle is rough, the thread in the eye gets frayed and worn, and the eye itself may break due to pulling.
A major “controversy” in beading is thread conditioning. Some beaders swear by beeswax, microcrystalline wax or Thread Heaven. An equal number use neither. You can decide what you prefer with experience.
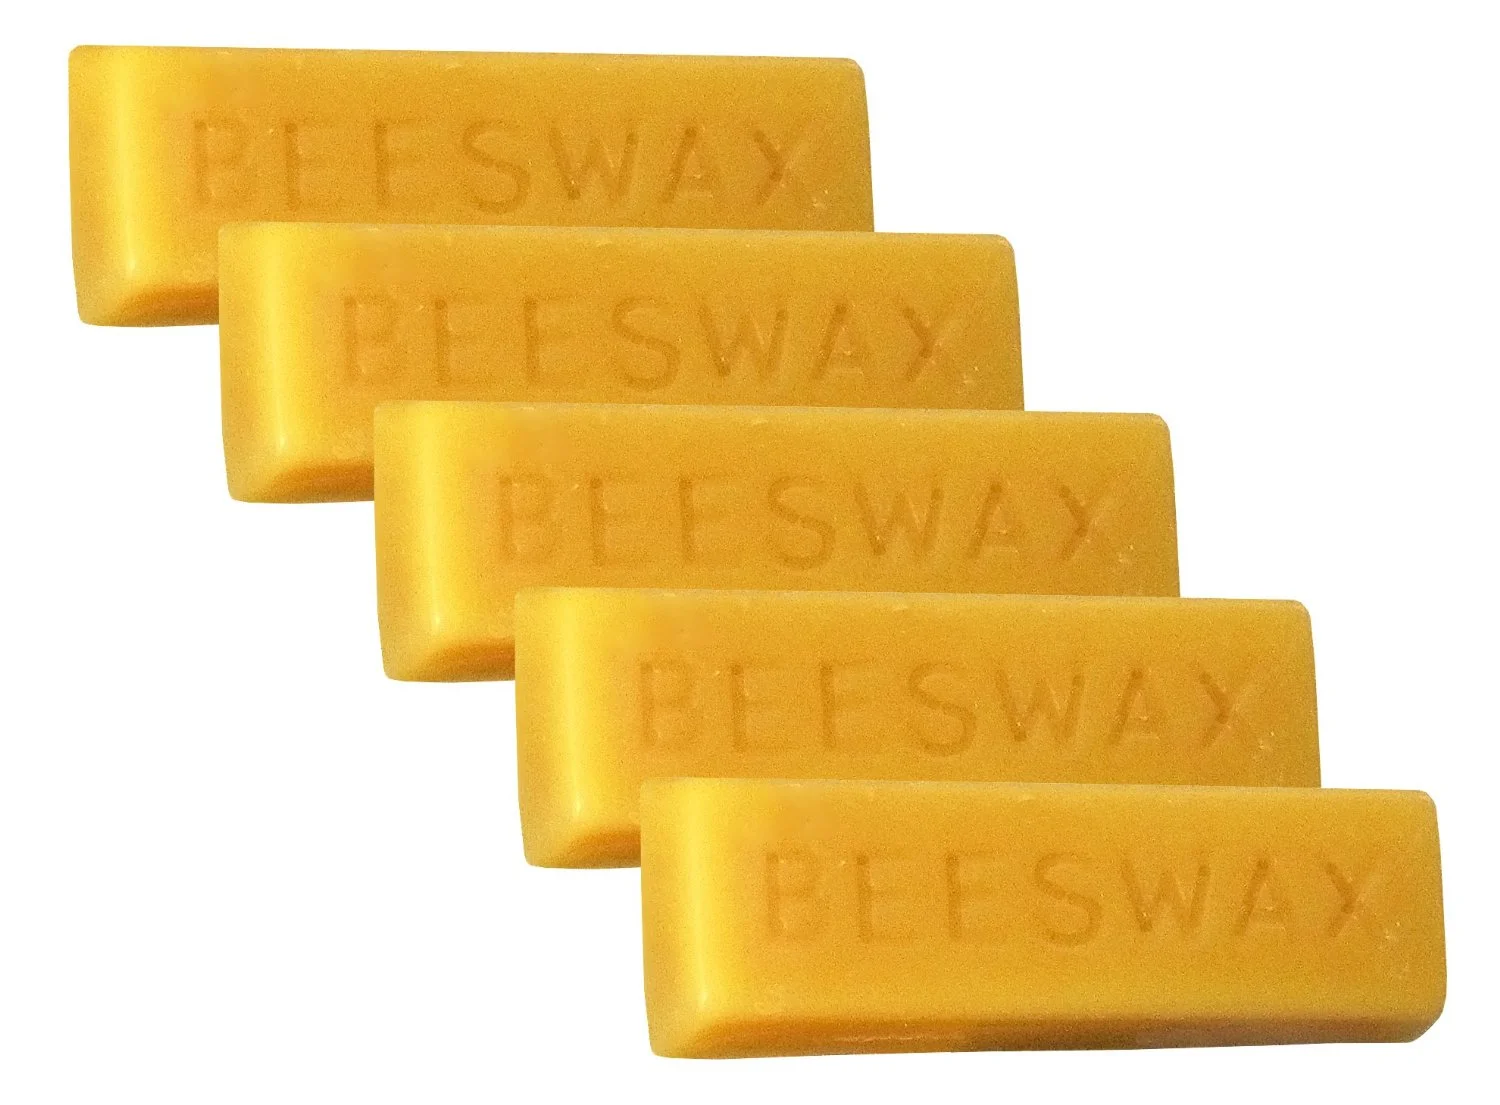
Beeswax has been used for many years but has been largely replaced with microcrystalline wax, a man made, petroleum product that does not dry out or get hard like Beeswax. Both add body to the thread which helps maintain tension. Because microcrystalline is not organic, it doesn't break down over time. Microcrystalline is easy to apply and less sticky or messy.
If you have a lot of wax build up in the bead holes, you are using too much wax. This will also build up in the eye of the needle and you will not be able to thread the needle eventually. Hold the needle in your hand or hold it up to a lamp to warm the wax and clear the needle's eye.
Thread Heaven is not a wax. It is a lubricant that repels thread from itself to prevent knotting. Since most knots happen when the cut end of the thread twists around the main part, the manufacturer recommends that you keep the cut end coated with a thread conditioner. How to Use Thread Heaven

Many beaders lightly coat beading thread with wax for smooth working action and protection against thread fraying, knotting and water damage. When working with doubled thread, wax is helpful to fuse the two threads together so they work as one.
How do I apply thread conditioner?
Thread your needle. Holding the thread below the needle, drag the thread through your choice of conditioner a couple of times. Run your fingers over the thread or wipe with a soft towel to remove any excess. Re-wax as needed.
How much thread do I start with?
I hate to add new thread, so I work with the longest length possible. Unfortunately, the longer the thread the more likely it will tangle — which isn’t too much fun either. So you have to find out what works best for you. I find that the longest length of thread I can handle is the of span my arms. Thread the needle with your thread and pull back a working “tail” of 8 to 10 inches. Hold the needle between your fingers on one hand. Hold the spool or bobbin of thread in the other hand. Extend both your hands out to the side, as far as they will go. Let the thread unwind from the spool/bobbin using even tension, no sagging or stretching. This is where you cut your thread. Some people stretch their arm further than others and some have shorter arms than others... it is an approximate length. Use what works best for YOU.
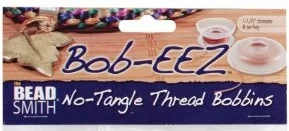
No Tangle Thread Bobbins
Made of flexible plastic, these handy thread bobbins allows you to flip open the bobbin and wind string or ribbon on to the spool. Flip the plastic back down over the thread after you have wound it around the bobbin. The locking feature prevents threads from unraveling and tangling. The bobbins are stackable and will snap together for easy storage. For my tool bag and travel kit, I transfer an assortment of Fireline sizes and colors (4, 6, 8 and 10 in crystal and smoke) and label them. That way I always have whatever I need without those cumbersome spools.
Thread Color
Try to match the thread to the beads. To prevent thread from showing, use a neutral on the dark side. Black thread is too dark and shows with most beads. This can be an advantage if you like the shadow of the thread to set off your colors. White thread is best suited for white or extremely light colored beads that read as white in the work. Neutral colors such as taupe, tan, beige and gray work with a lot of bead colors. Keep in mind that dark or matching color threads can enhance, change, or completely gray out the transparent beads. The color of the thread will affect the color of any transparent bead in the piece you are working on. A dark thread may show through pale beads, but as a rule of thumb, a darker color will show less than a lighter color. Also consider the amount of thread visible in the technique you have selected – Peyote shows less than brick, for example. Test the thread with the beads so you have no surprise color changes in the work. You can tint white or light colored threads with a Sharpie to match your beads at points where thread is showing. You can also pull white thread through the point of the Sharpie to color it before you use it.
When backing your bead embroidery, I strongly urge you to match your thread to the backing as closely as possible.